Cladded Walls Insulation Installation Guide
Simple step by step guide to installing Foilboard® GREEN rigid Cladded Wall insulation (Timber/Steel Frame)

Step 1
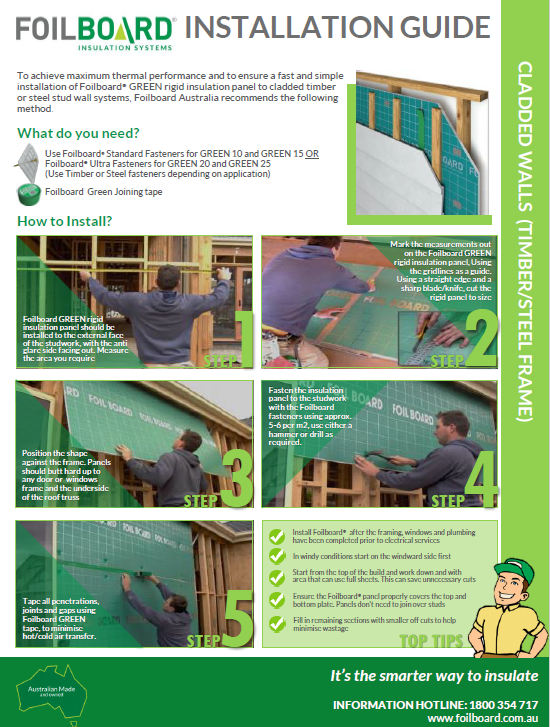
Foilboard® GREEN rigid insulation panel should be installed to the external face of the studwork, with the anti-glare side is facing out. Measure the area you require.
Step 2
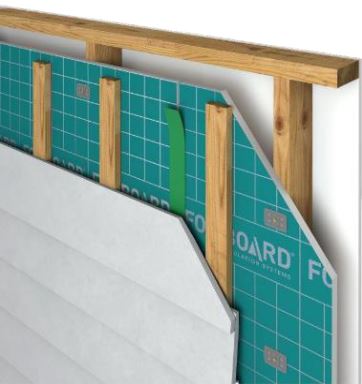
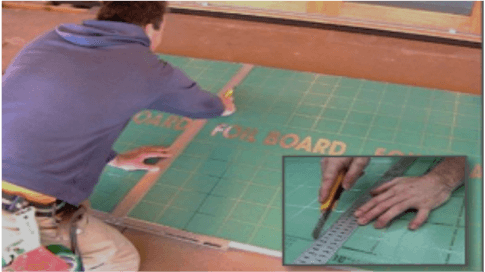
Mark the measurements out on the Foilboard® panel, using the gridlines as a guide, then using a straight edge and a sharp blade / knife, cut the panel to size.
Step 3
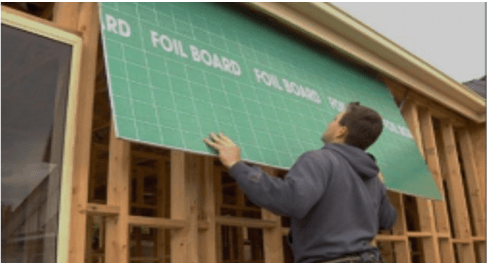
Position the sheet against the frame. Panels should be butted hard up to any doors, windows and the underside of the roof truss.

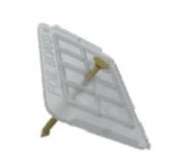
Step 4
Fasten the insulation panel to the studwork with the Foilboard® Fasteners using approx. 5-6 per m2 using either a hammer or drill as required.

Step 5
Tape all penetrations, joints and gaps using Foilboard® green tape, to minimise cold / hot air transfer.
Required to install
Use Foilboard® Standard Fasteners (timber frame) for Foilboard® GREEN 10 & GREEN 15 OR
Use Foilboard® Ultra Fasteners for Foilboard® GREEN 20 & GREEN 25
(Use Timber or Steel fasteners depending on application)

Foilboard® Green joining tape
Foilboard ® Tips
- Install Foilboard® after the framing windows and plumbing have been completed but prior to electrical services
- In windy conditions, start on the windward side of the building first
- Start with area that can use full sheets (saving time and unnecessary cutting)
- Start from the top of the build and work down
- Ensure the Foilboard® panel properly covers the top & bottom plate
- Panels don’t need to join over studs
- Fill in remaining sections with smaller off-cuts, to help minimise wastage

Designing a Building?

Installing Insulation?